How to Setup an AWS Client VPN Using OpenVPN on EC2
In this tutorial, we will explore how to set up a basic client VPN on Amazon Web Services (AWS) EC2 using OpenVPN Access Server. The scenario involves establishing a VPN connection between your on-premises client and the private network within AWS. By the end of this step-by-step guide, you’ll be able to access your AWS cloud resources, such as other EC2 instances, securely and efficiently.
Before you start, you need to create a Virtual Private Cloud (VPC) to launch the OpenVPN on that VPC. We already have a tutorial on how to create your own VPC on AWS here.
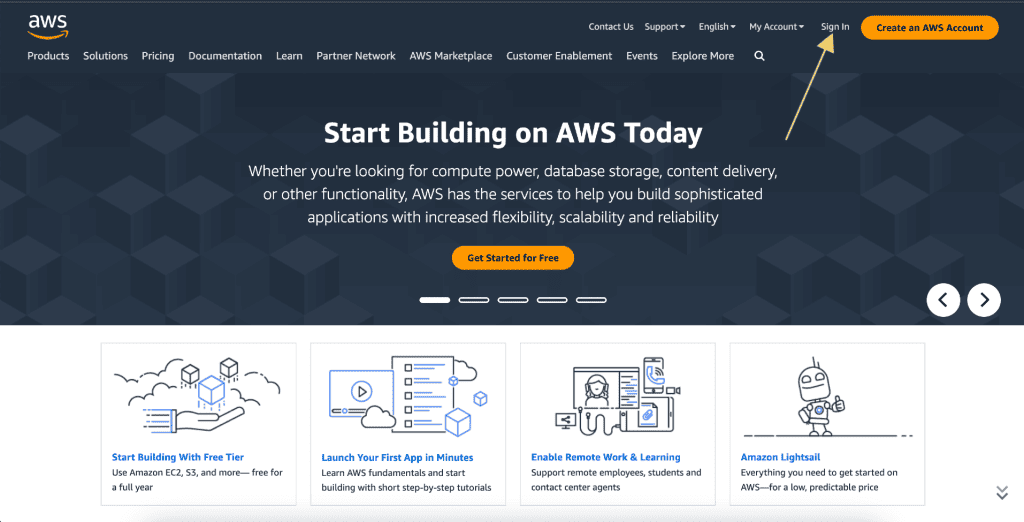
Step 1: Sign in to AWS Console
Open your web browser and go to the AWS Management Console (console.aws.amazon.com).
Sign in with your AWS account credentials.
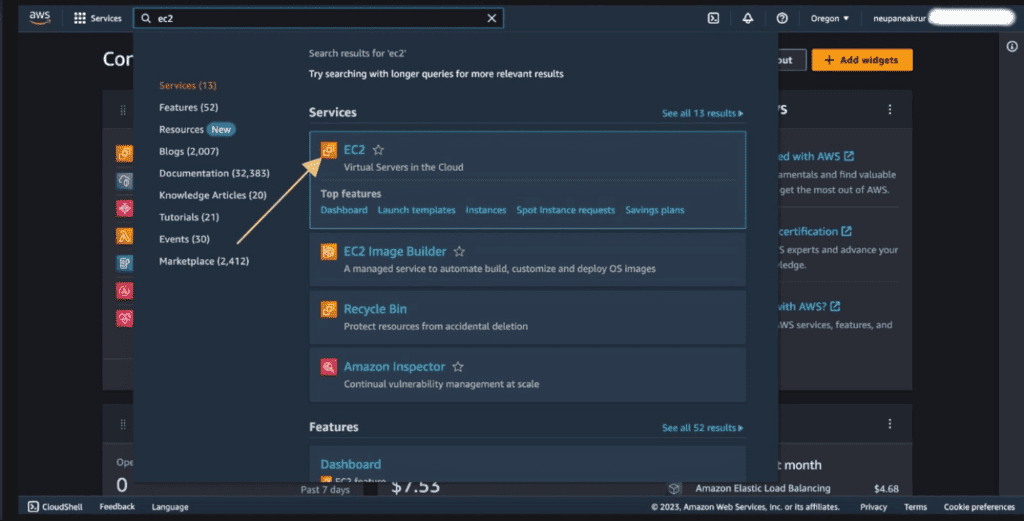
Step 2: Navigate to EC2 Dashboard
Once you’re logged in. In the search bar search “EC2” and click on the EC2.
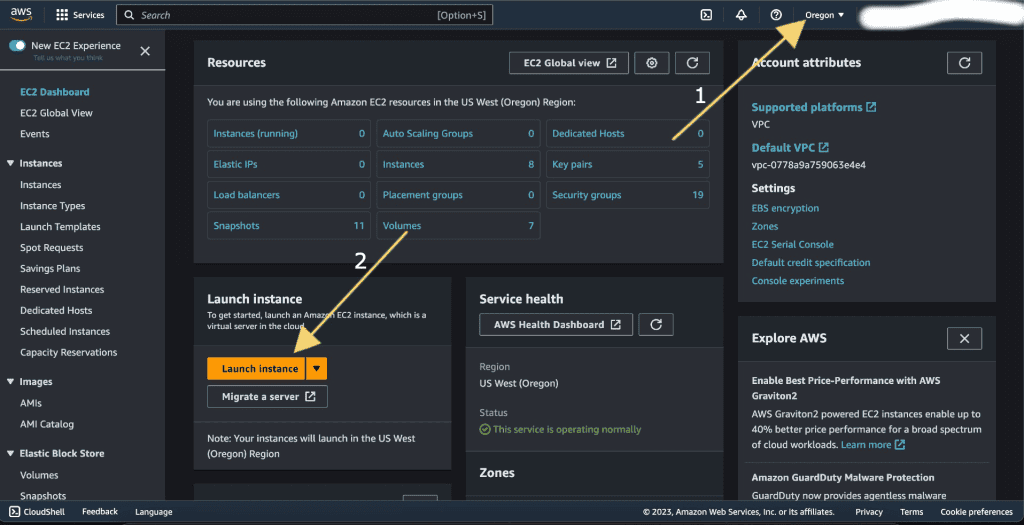
Step 3: Creating an EC2 instance
First select the region that you want to create the VPN on.
Then click on the “Launch Instance” button as shown in the picture below.
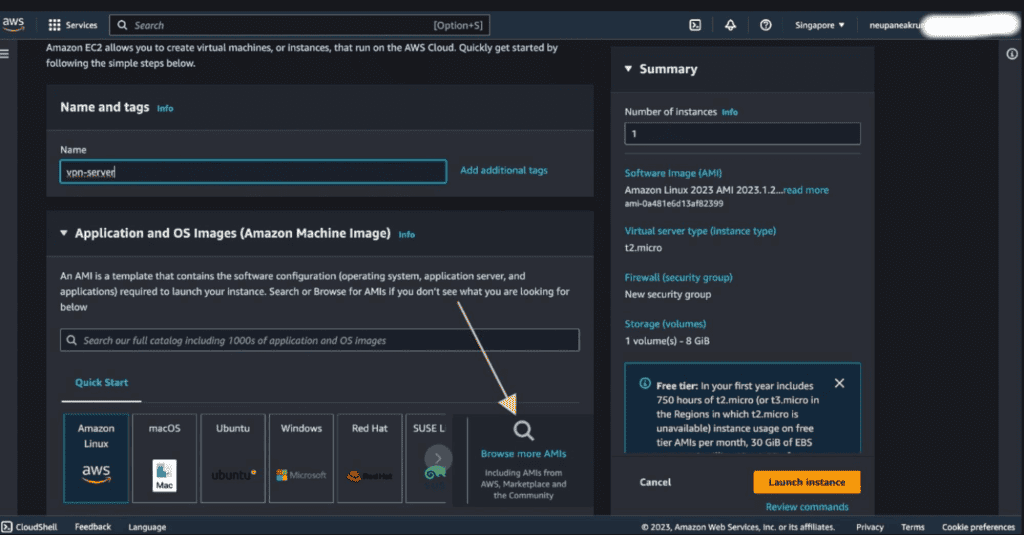
Step 4: Setting up the EC2 details
Give the name of the ec2 instance.
Click on browse more AMIs.
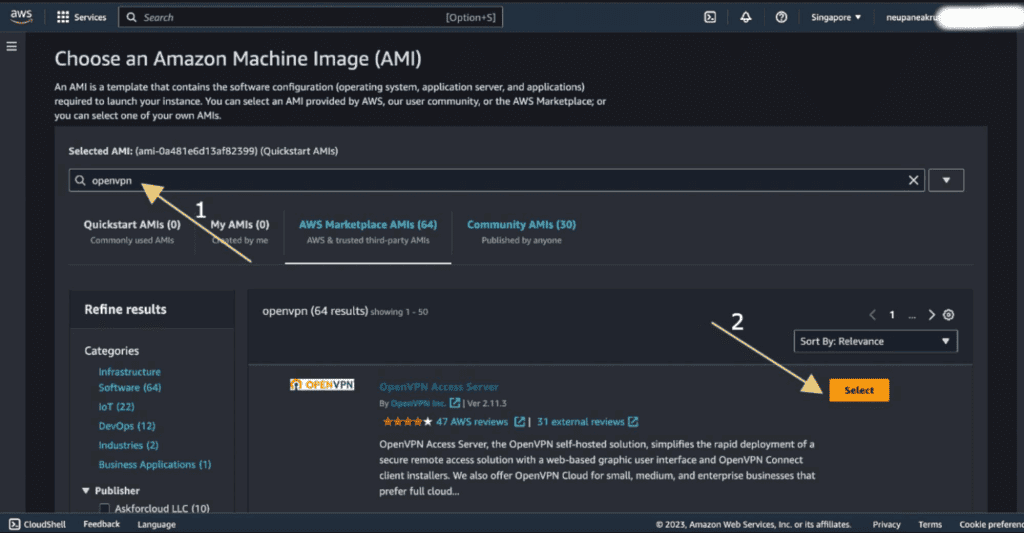
Search “openvpn” on the search bar.
Click on the “Select” next to OpenVPN Access Server and then the “Continue” button.
Now you can see the details required to launch the OpenVPN are filled automatically.
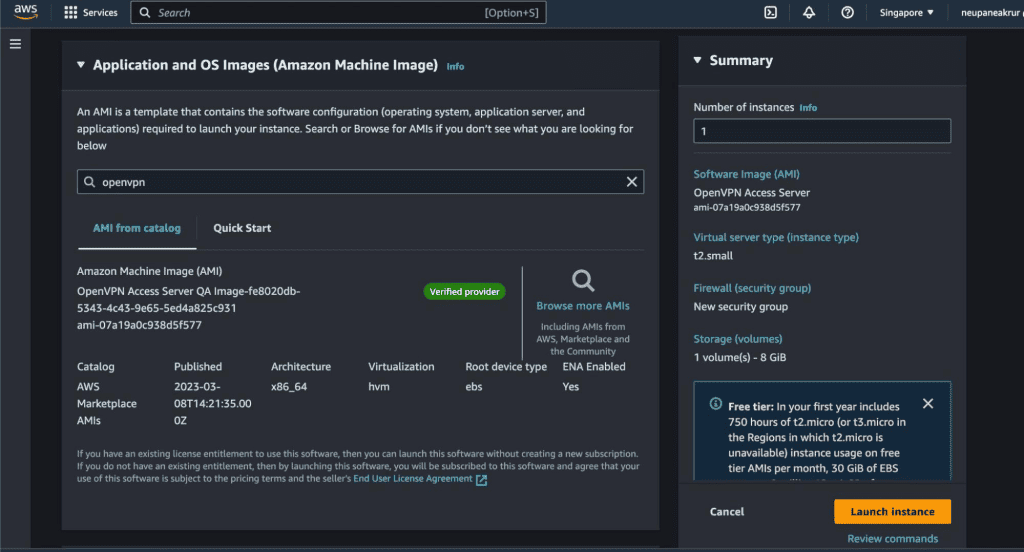
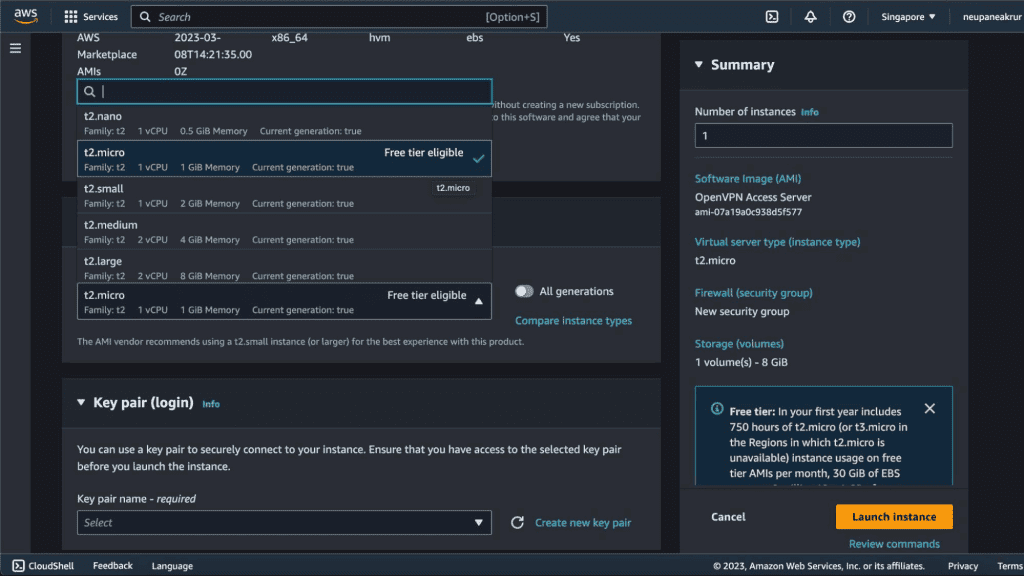
By default there will be a “t2.small” instance selected. Let’s select the Free tier eligible “t2.micro” instance.
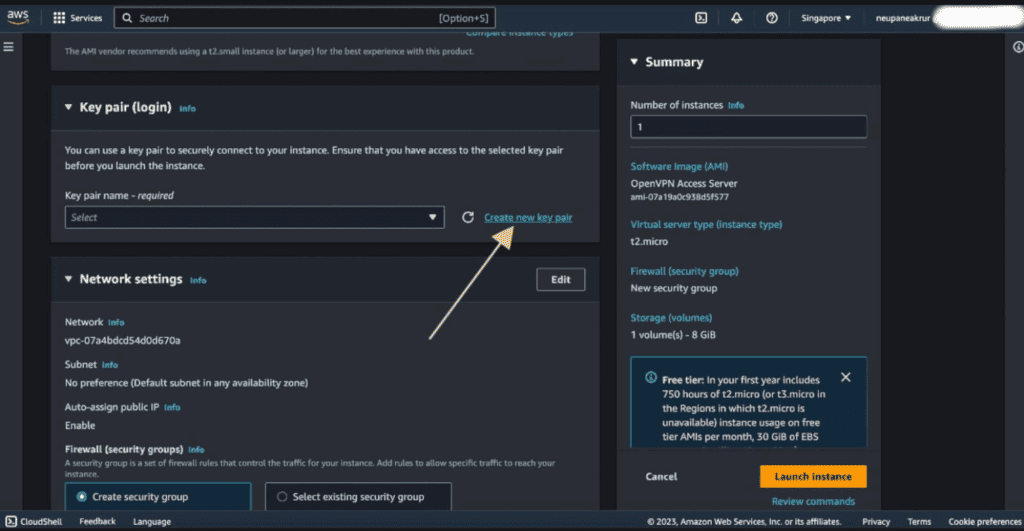
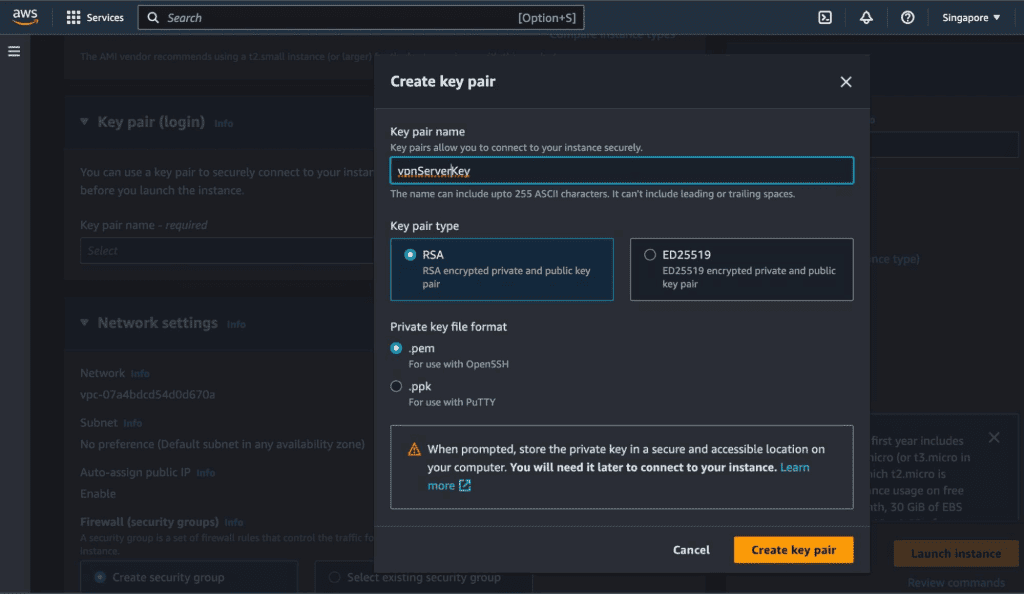
On the Key pair(login) section. Click on “Create new key pair.” We need to ssh into that instance for the setup of OpenVPN and for that we need a key pair file. (store this file securely, because it contains the information about the instances)
Provide a name for your key pair and select RSA and .pem as key pair format and click on “Create key pair.” It will automatically download the .pem file on your device. (you can also use the .ppk file format if you are using a third-party ssh client like PuTTY).
Leave all the things as default and click on “Launch Instance.” We are leaving all the details as it is which was suggested by the AMI that we choose from AWS Marketplace.
(If you want to use your own VPC, Subnet, and Security Group you can select those from the Network Setting tab by clicking the “Edit” button)
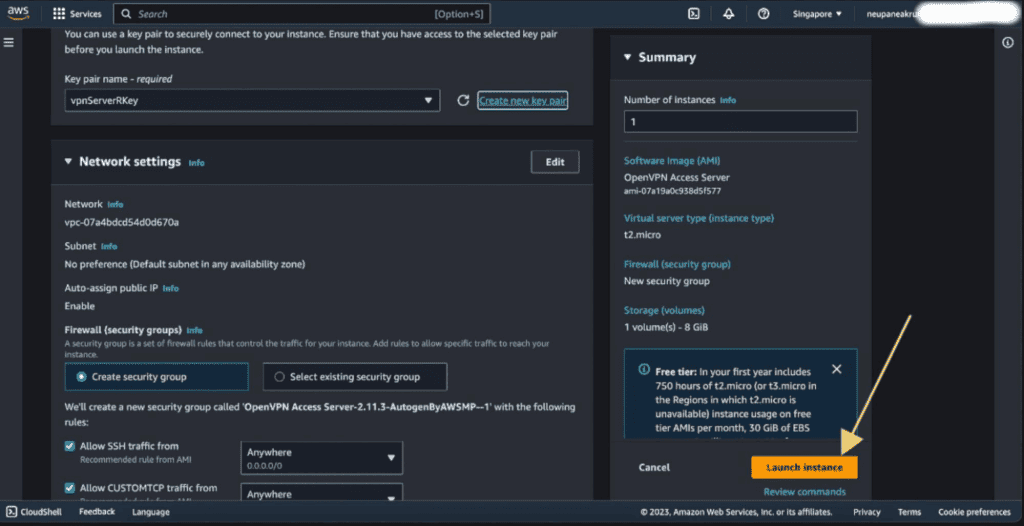
Wait for the instance to be launched and running with status checked as 2/2 checks passed.

Step 5: Connecting to the instance
Select the instance that we have created and click on “Connect.”
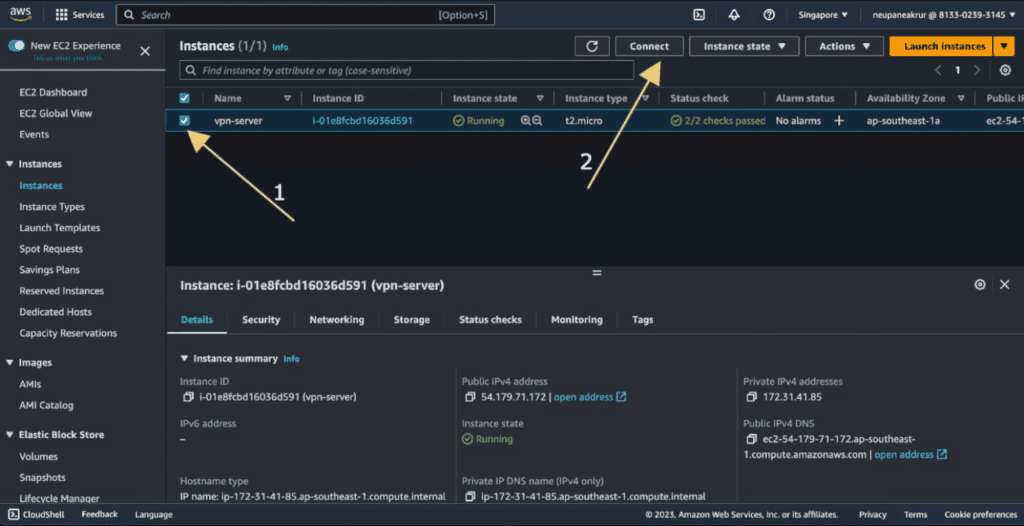
Select the “SSH client” and click on the copy icon and the command given in the Example tab will be copied to your clipboard.

Open your terminal.
Navigate to the folder from your terminal in which your key pair that we have created is downloaded. (In most cases it will be in the Downloads folder). The command will be:
cd downloads
ssh -i "vpnServerRKey.pem" root@ec2-54-179-71-172.ap-southeast-1.compute.amazonaws.com
Paste the above copied command in your terminal and click Enter.

Type “yes” to continue
yes
It will show the message to login as a openvpnas user rather than root. So lets login as a openvpnas user.
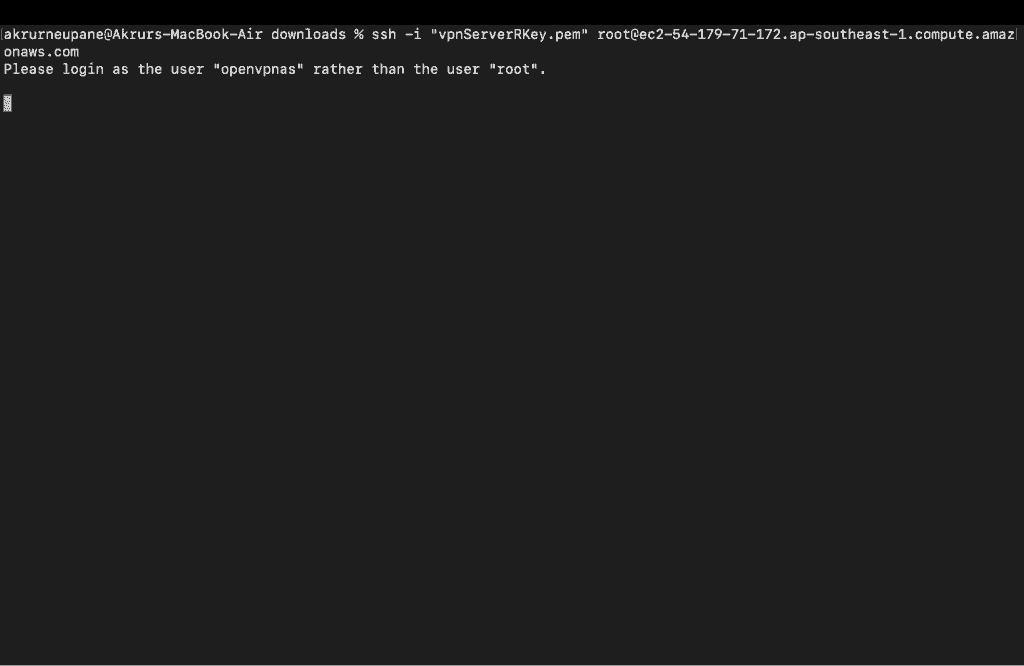
Just replace the root@ to openvpnas@ and paste that same cmd to your terminal.
ssh -i "vpnServerRKey.pem" openvpnas@ec2-54-179-71-172.ap-southeast-1.compute.amazonaws.com
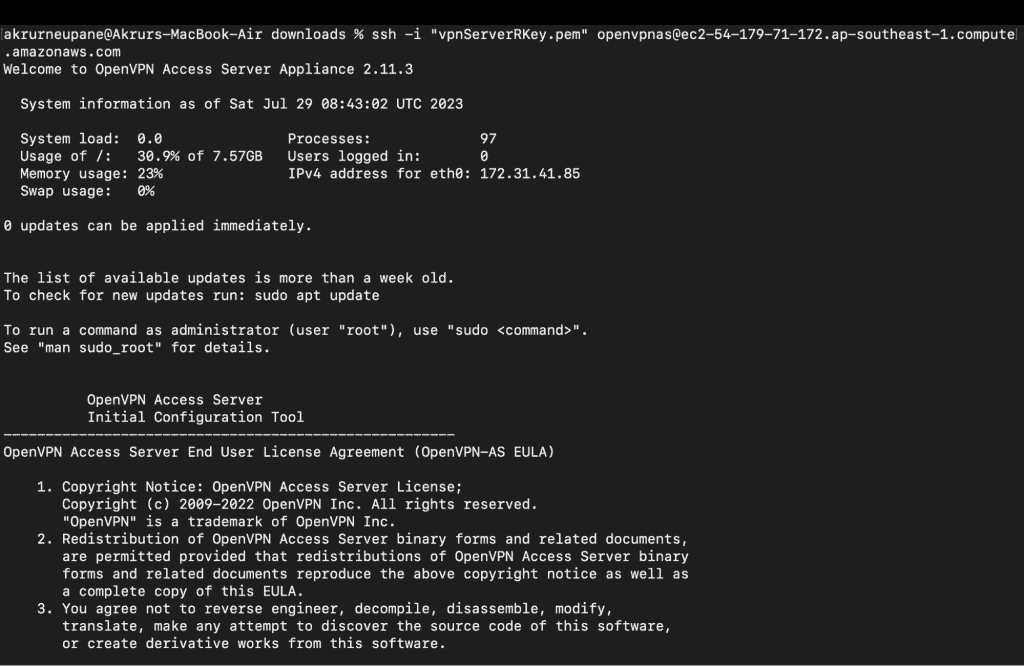
Congrats now we are inside the ec2 instance.
Step 6: Setting up OpenVPN
Type “yes” and press “Enter” as we will set everything as default to all the configurations.
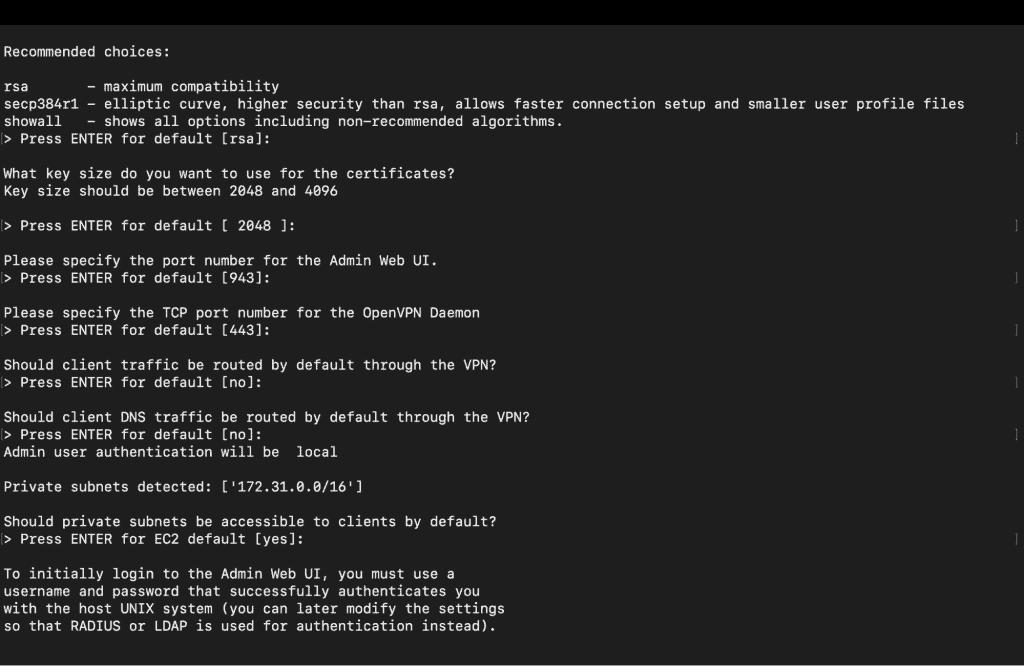
Wait for some time and it will be ready in a few seconds.
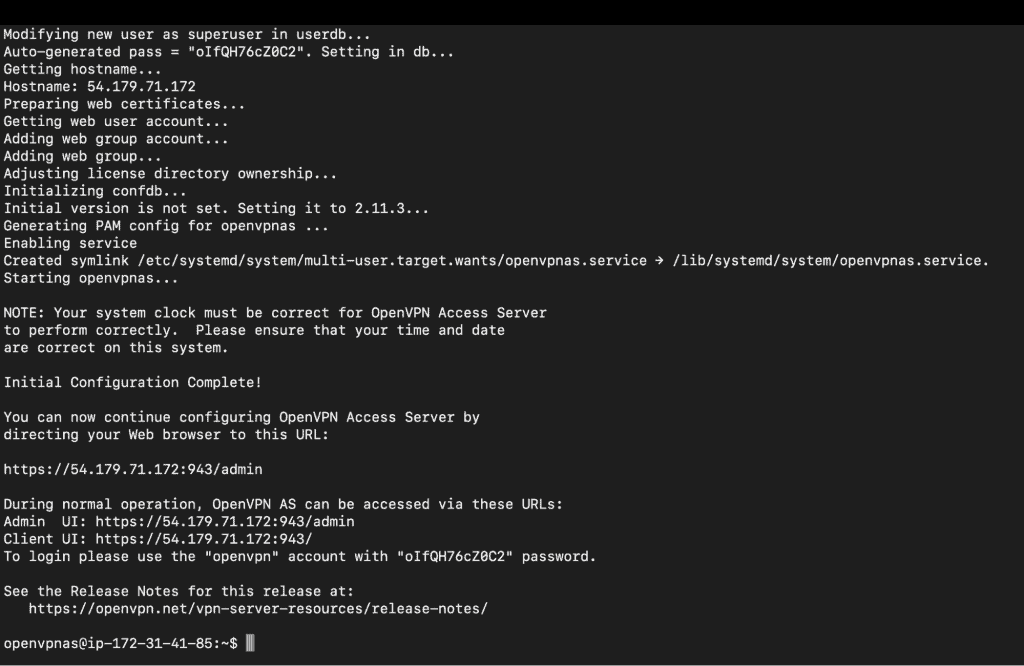
We can see the Admin UI url and Client UI url with username and password for admin. Copy the login details username and password. We will need it later in many steps and also while connecting.
Step 7: Accessing OpenVPN Web UI
Copy the Admin UI and enter the username and password that have been created above.
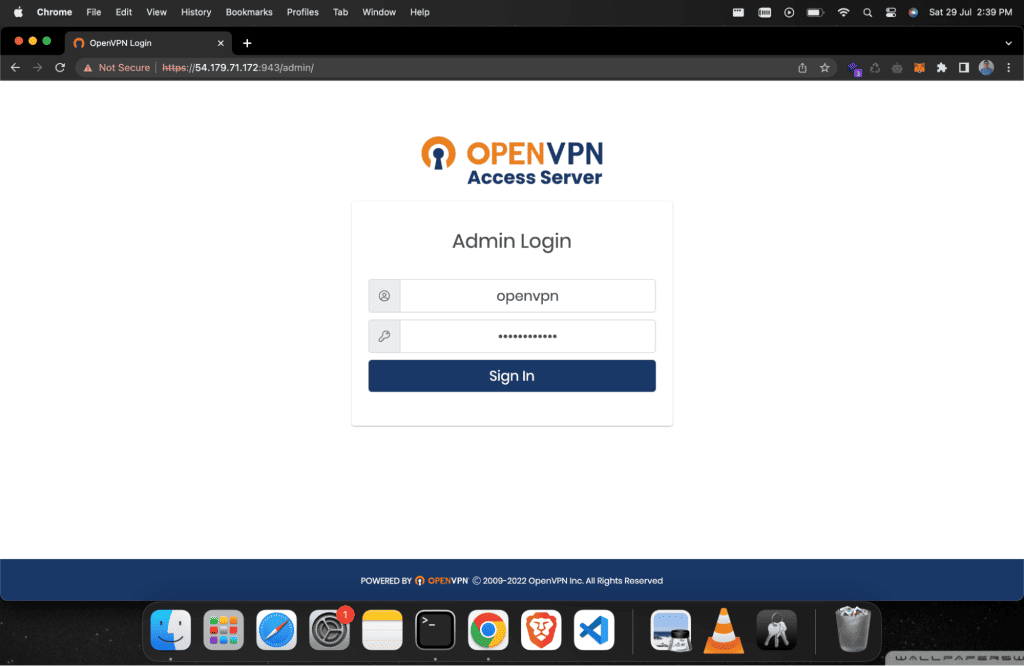
Now you can see the OpenVPN web dashboard.
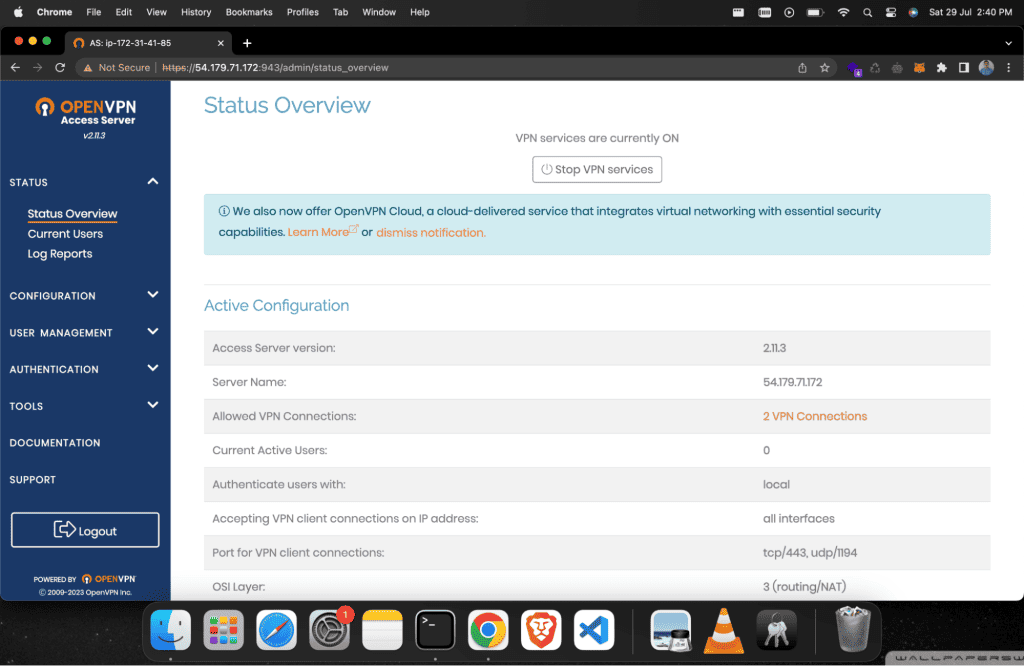
Step 8: Connecting to the VPN
First we will make sure that all our traffic is safe and secure and will go through this traffic. Then we will create a user to connect to this VPN.
Click on “Configuration” and then “VPN Settings.”
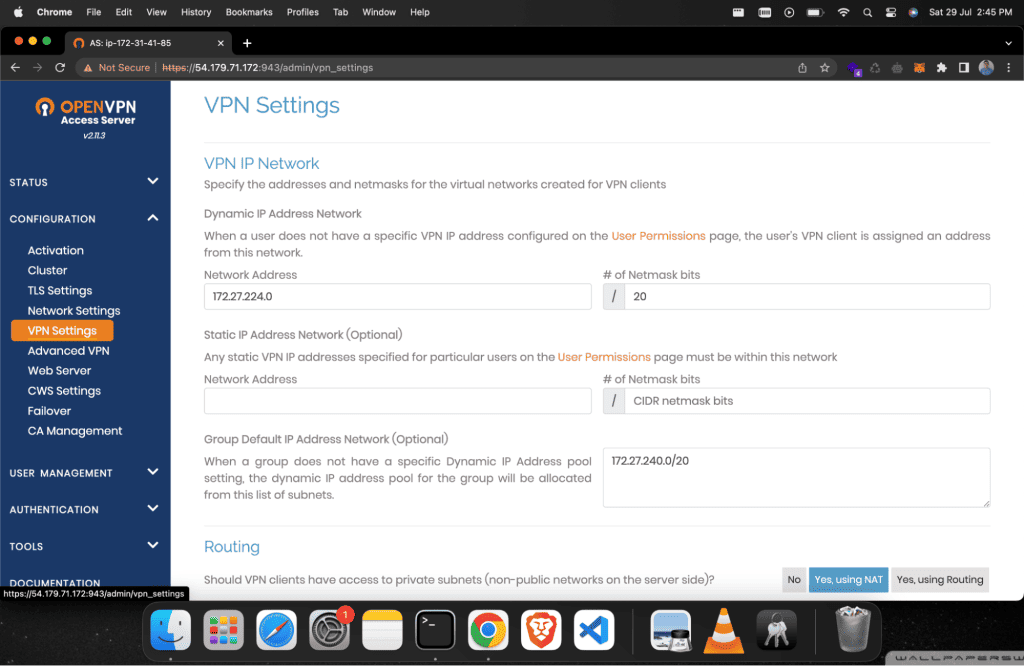
Scroll down to the Routing section and then in the option “Should client Internet traffic be routed through the VPN?” we will select “Yes.”

Scroll down to last and click on “Save Settings.”
Now click on “Update Running Server.”
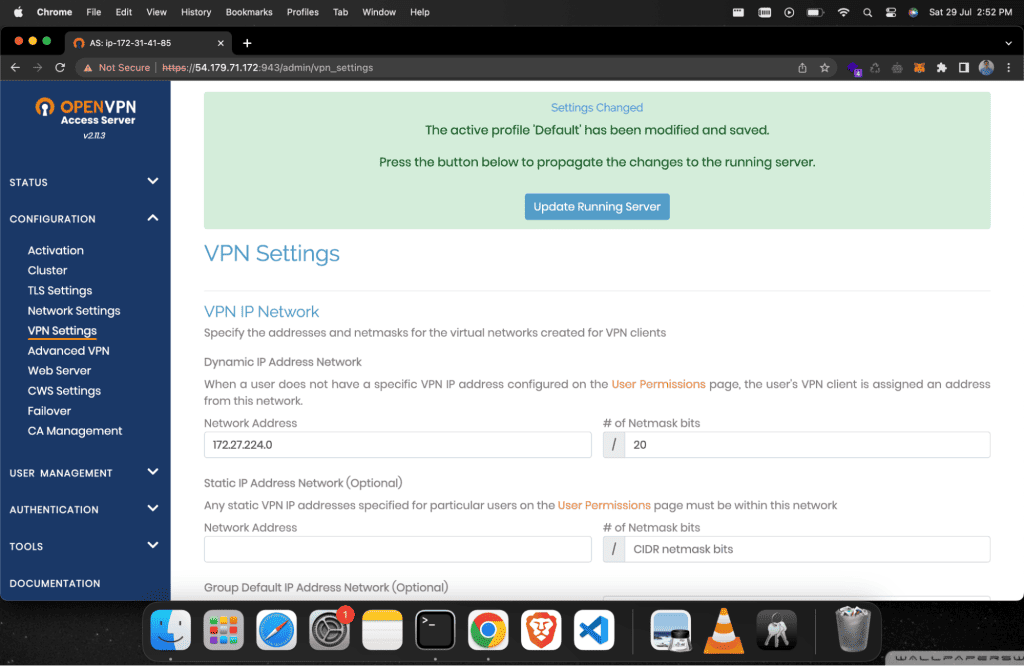
After that, copy the url without /admin and fill up the same details that have been created above.
Then click on “Sign In.”
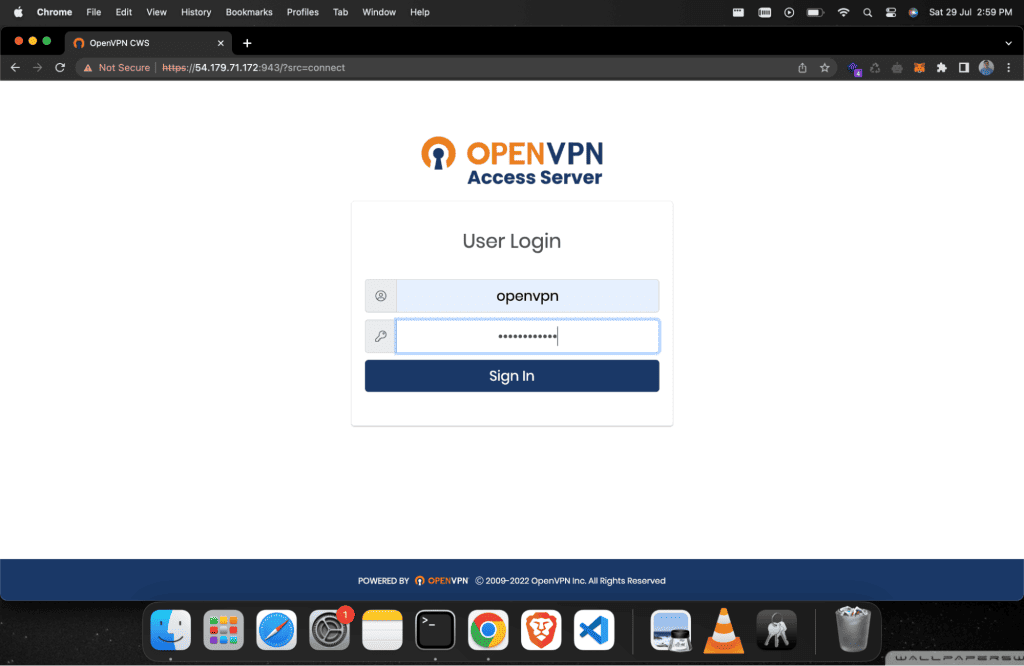
Select your OS and it will automatically download the application files.

Install the application and open it.

Click on the On button on the left side. It will ask you for your password. Type your password that has been used before. And click on OK.
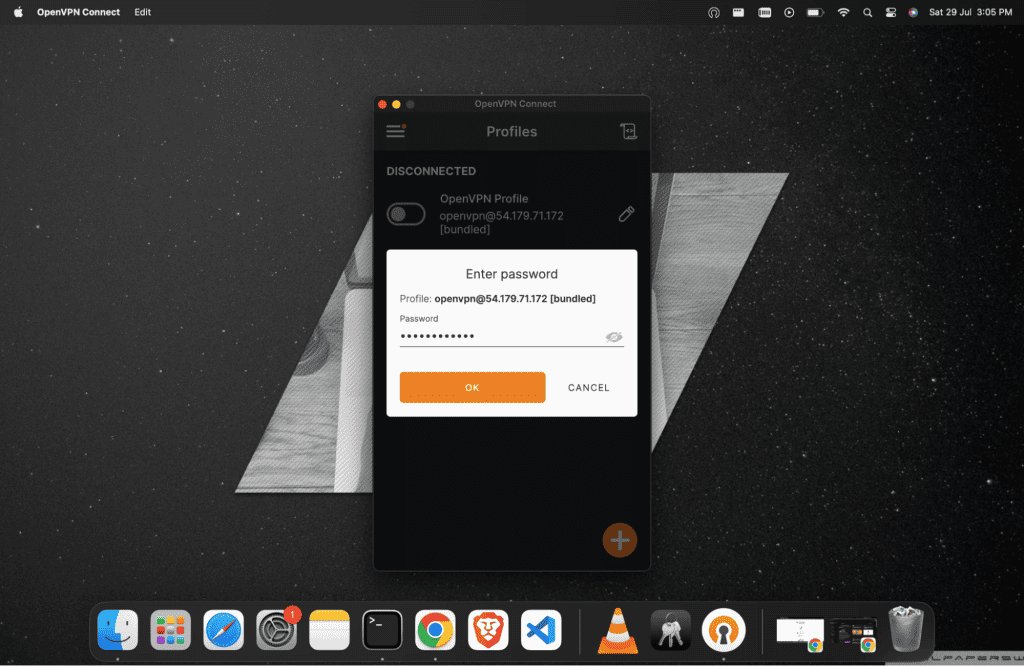
Congrats, your VPN has been successfully configured.
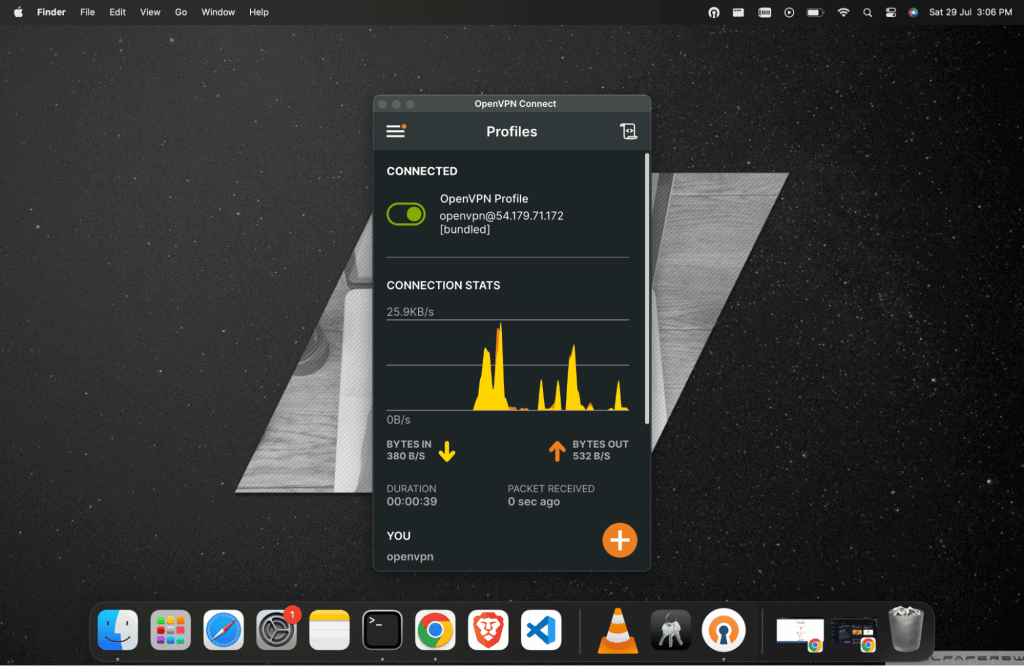
Now you can use your own VPN to connect to your instances and database on the same VPC inside your AWS region.
Security and best practices considerations
The setup in this guide is a very basic proof-of-concept type configuration. Before using this VPN setup in production I recommend implementing strict access controls and security groups to limit access to the OpenVPN Access Server instances only to necessary IP addresses or ranges.
Also, since in this configuration the VPN appliance would be a single point of failure, you may want consider purchasing a second instance configuring both in high-availability (HA) mode behind an Elastic IP Address. The Elastic IP address serves as the public IP access point to the Admin Web UI as well as the tunnel-establishment endpoint for VPN clients. At a minimum, it’s a best practice to associate an Elastic IP Address to your EC2 instance with OpenVPN Access Server so you can easily remap the same address to another instance in case the current instance fails.
Then there are the more common, cautionary suggestions such as ensuring you use strong password policies for VPN users, regularly review user access to remove inactive or unnecessary accounts, consider enabling multi-factor authentication (MFA) to add an extra layer of security, and setting up a logging solution to capture connection and activity logs such as AWS CloudWatch.


