Quickly Set Up AWS Global Accelerator Distribution for EC2 & ALB
Amazon Web Services (AWS) Global Accelerator is a powerful service designed to improve the availability and performance of your cloud applications by routing traffic over the AWS global network. Whether you’re using Application Load Balancers (ALB) or Elastic Compute Cloud (EC2) instances as endpoints, this guide provides clear, step-by-step instructions for setting up AWS Global Accelerator.
Setting up AWS Global Accelerator for EC2 instances or Elastic IP addresses
In some cases, you may want to route traffic directly to EC2 instances or Elastic IP (EIP) addresses. Here’s how to set up AWS Global Accelerator for these endpoints.

Step 1: Creating an EC2 Instance in two different regions
Make sure you have at least two EC2 instances set up in various regions before you start. You can create one instance in the US region and another in the Singapore region. This way, when users make requests, they will automatically be directed to the nearest AWS region.
Go to EC2 services.
Click on Launch Instances.
Configure your instance settings.
Launch the EC2 instance.
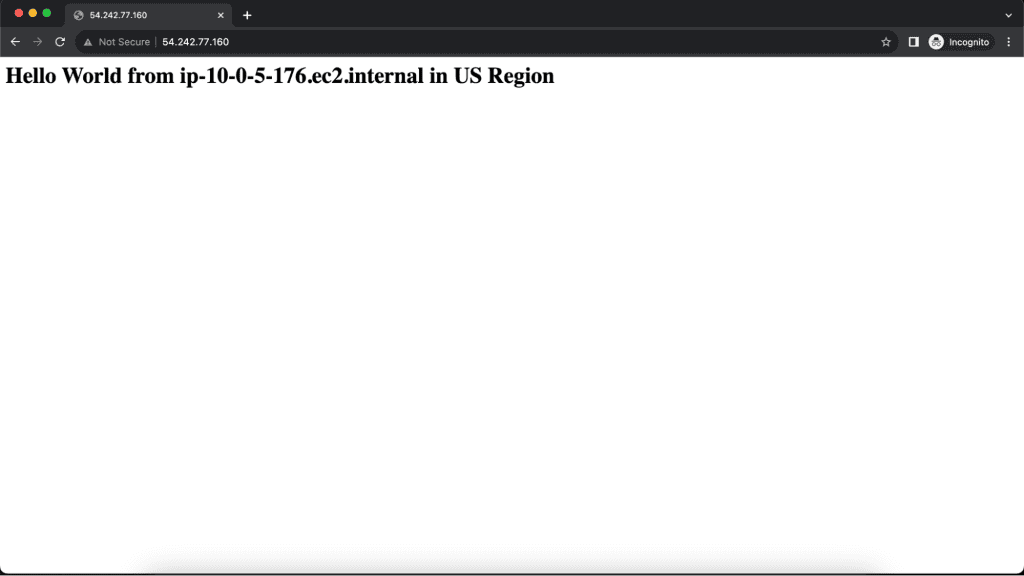
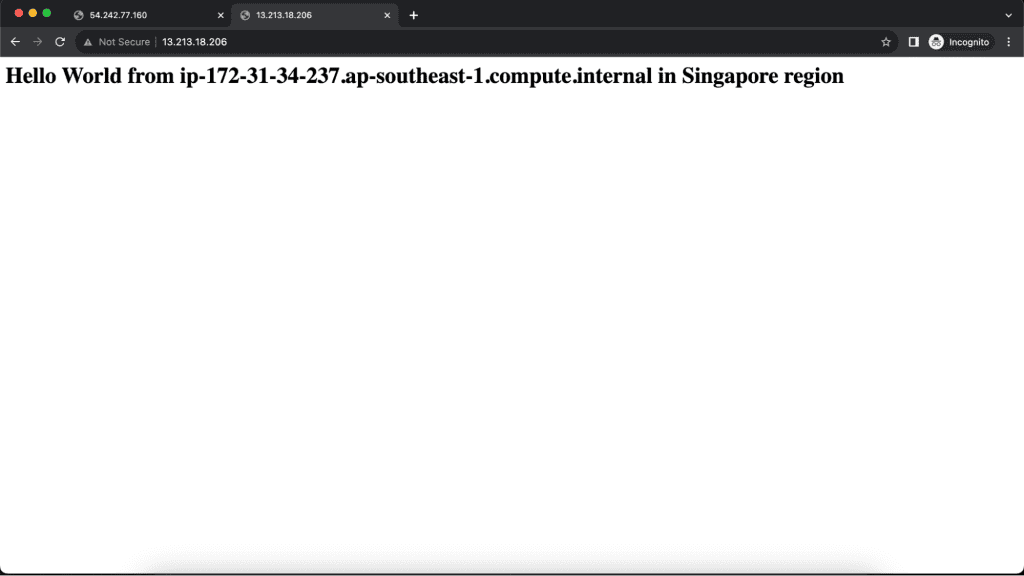
I have two instances in two different regions.
Step 2: Creating a Global Accelerator
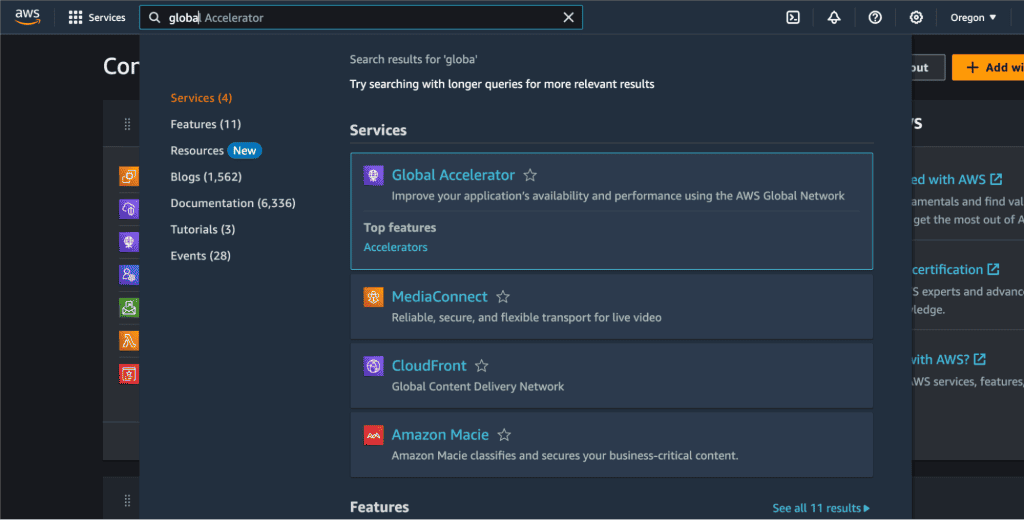
Navigate to the AWS Global Accelerator console.
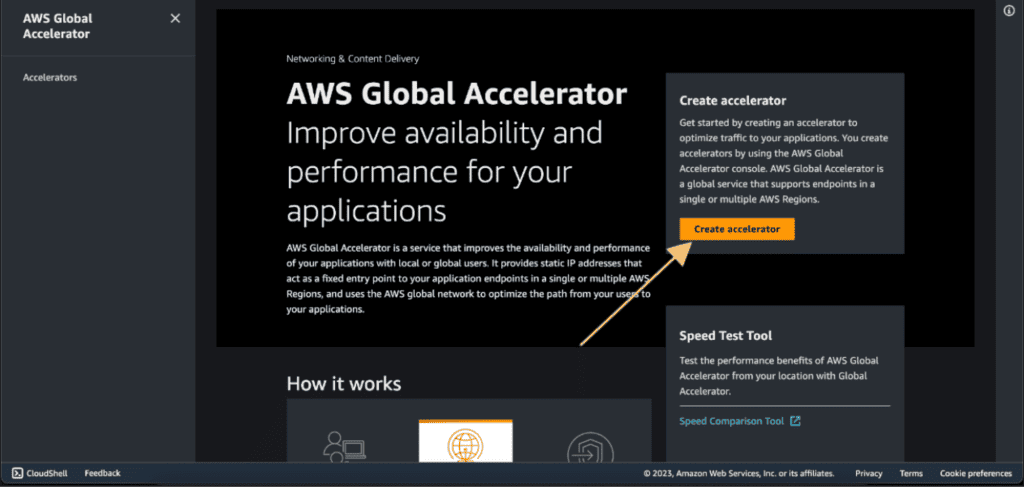
Click on “Create accelerator”.
Choose a name for your accelerator.
Select “Standard” as the Accelerator type.
(If you want a simple, automated solution to direct traffic to the nearest healthy endpoint, go with the “Standard” accelerator. If you need more control to route different types of traffic to specific EC2 instances based on custom criteria, then the “Custom Routing” accelerator is the choice for you.)
Select the IP address type as IPV4.
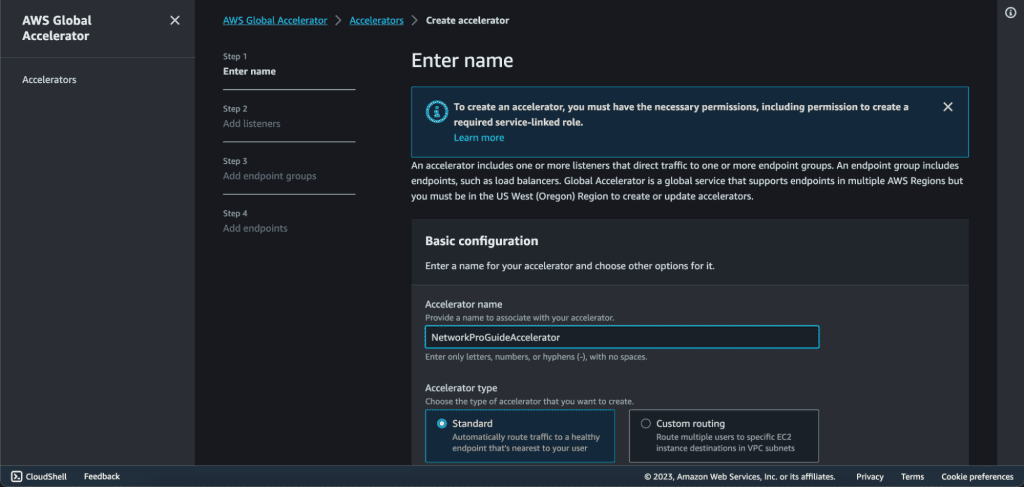
Click on Next.
Step 3: Adding Listeners on AWS Global Accelerator.
Then we have to set up a listener which is the port.
Add “80” in the port and select “TCP” as the protocol because we will have the HTTP traffic which is built on top of TCP. Also, select Client affinity as “NONE”.
Then click on “Next”.

Step 4: Adding Endpoint groups on AWS Global Accelerator.
In the endpoints group, select the instances that you have created. Select the region in which you have your first instance. In my case, it’s us-east-1.
In the traffic dial choose “100”. Which means 100% of the traffic will go to that region.
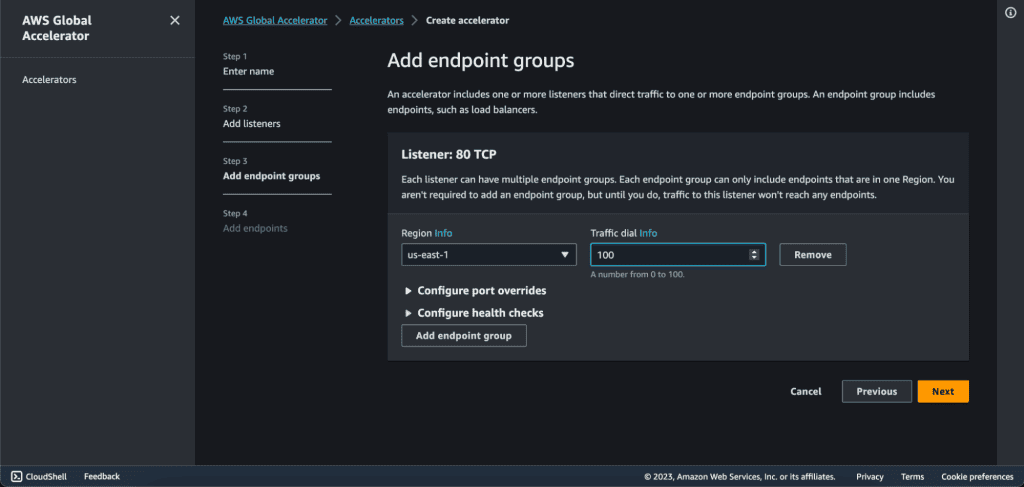
In the configure health checks tab. Add health check port as “80”, health check protocol as “HTTP”, health check path as “/”, health check interval as “10” and threshold count as “3”.

Now, click on “Add endpoint group” as we are going to add a second EC2 in another region.
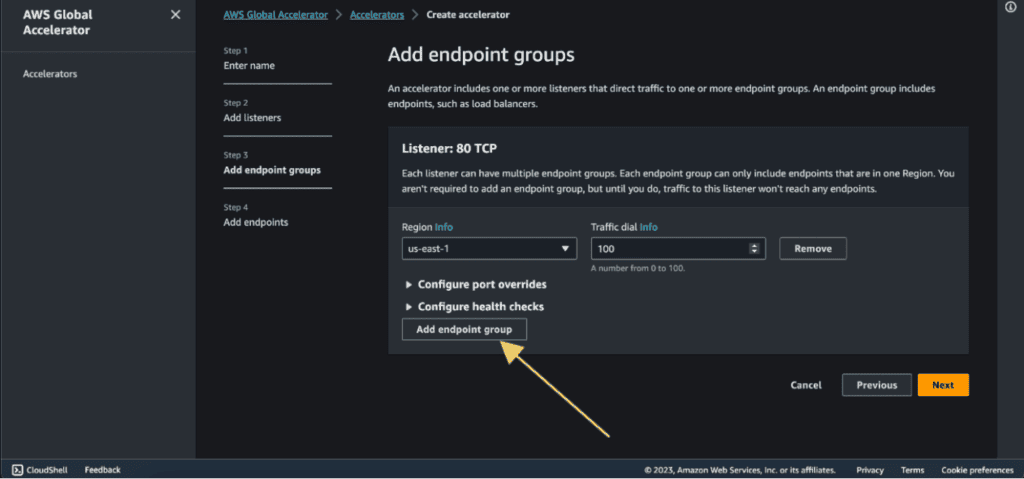
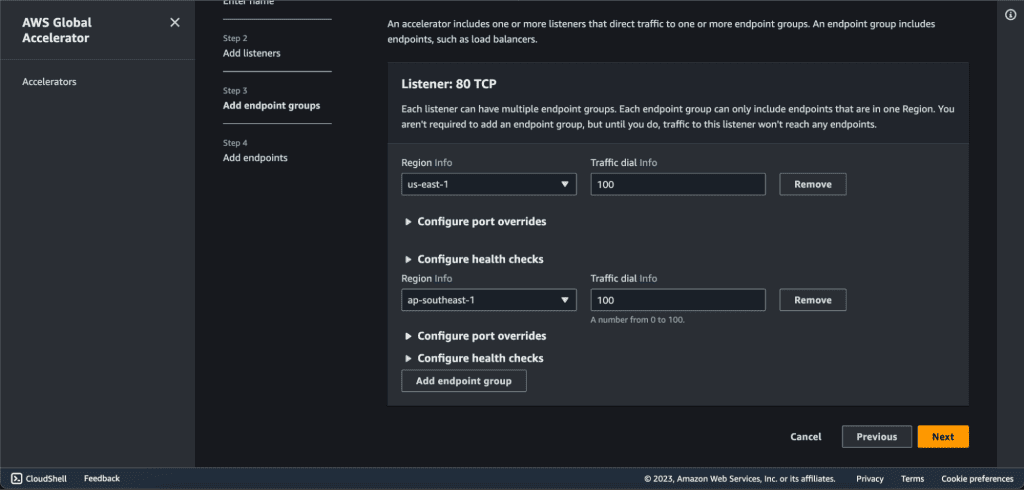
Select the region in which you have your second instance. In my case, it’s ap-southeast-1.
Configure the health check which will be the same as above.
If you have more EC2 in different regions then you can again click on “Add endpoint group” and repeat the same step as above.
Then click on “Next.”
Step 5: Adding endpoints on AWS Global Accelerator.
Now we will have two endpoint groups. In the endpoint group 1, click on ”Add endpoint.”
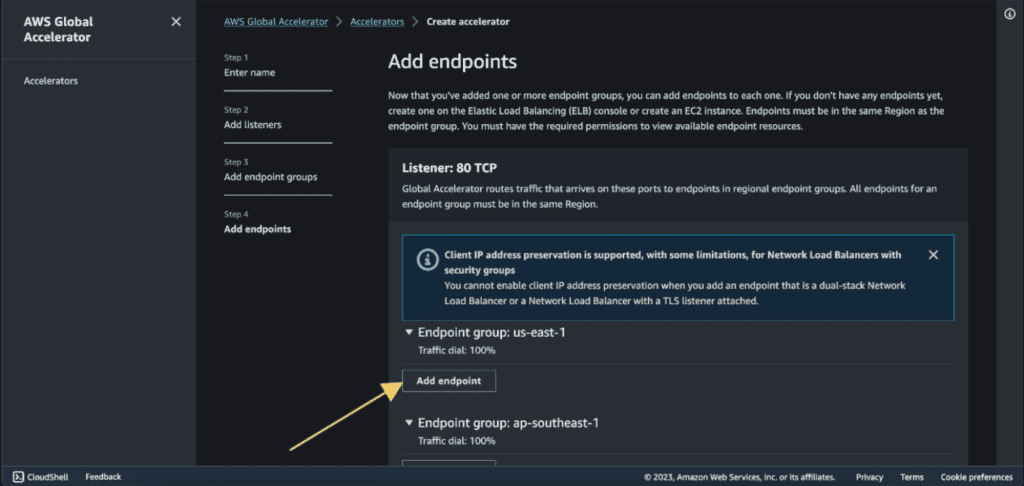
Select the endpoint type as “EC2 instance”. (If you have an elastic IP address then select “Elastic IP address” as an endpoint type and choose your elastic IP as an endpoint.)
Select your EC2 instance in Endpoint.

Now in the endpoint group 2, click on ”Add endpoint.”
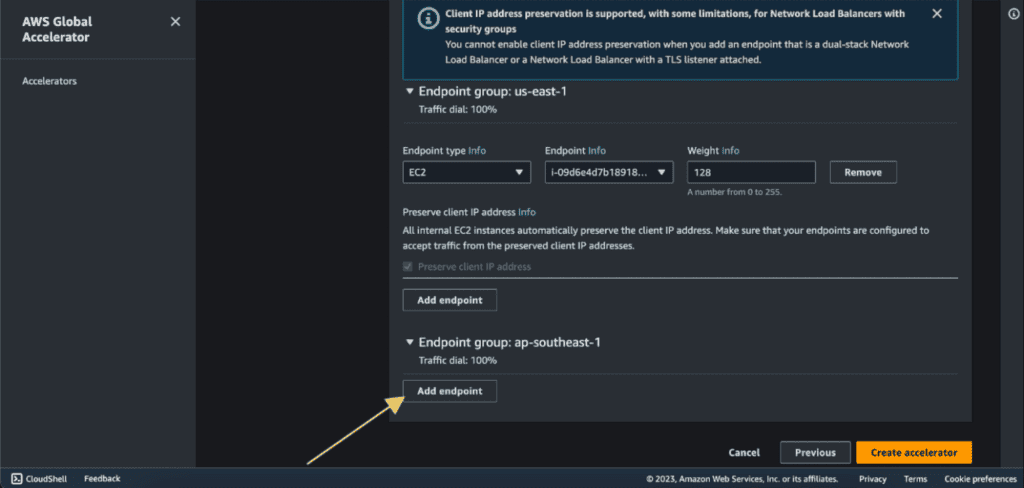
Select the endpoint type as “EC2 instance.” (If you have an elastic IP address then select “Elastic IP address” as an endpoint type and choose your elastic IP as an endpoint.)
Select your EC2 instance in Endpoint.
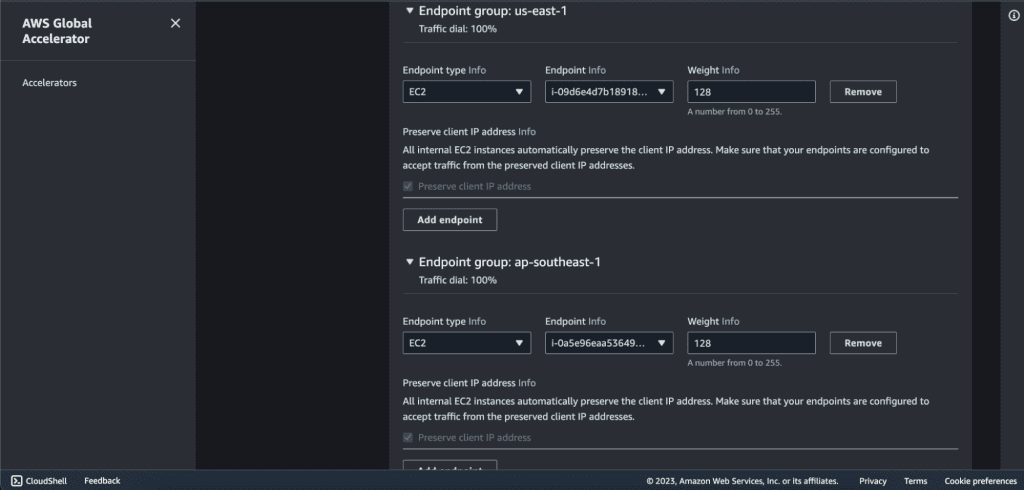
If you have more endpoints then you can add them as well.
Click on “Create Accelerator”.
Your accelerator will be created successfully.
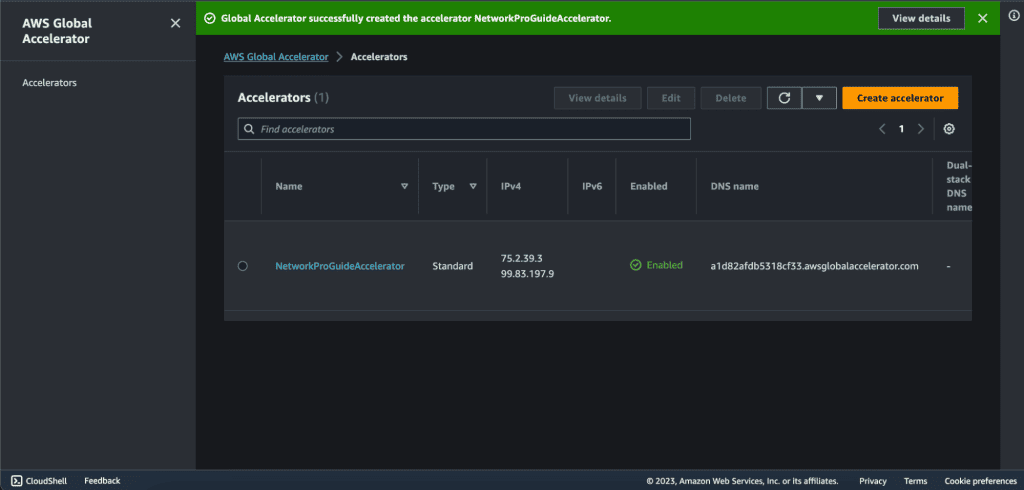
Now you can see two static IP addresses, these two are going to be global anycast IP addresses to access the application.
You also have the associated DNS name with this global accelerator. You can use both of them to access the global accelerator.
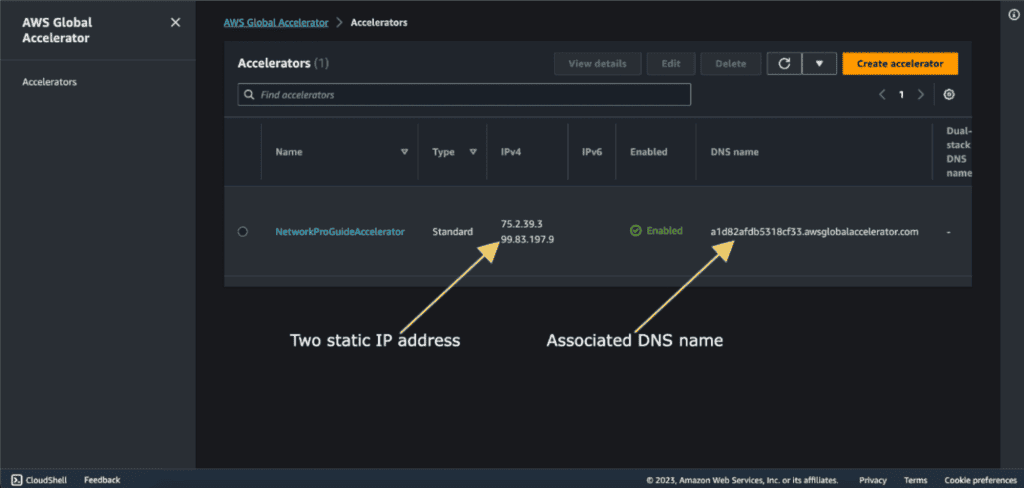
Wait for the status to be “Deployed”. It can take a few minutes.
Now you can copy the DNS name and check it.
Step 6: Access the EC2 instances from Global Accelerator.
I am testing it from Asia, which is near the Singapore region and I am redirected to the Singapore region.

Let’s also check it from the country that is near the US.
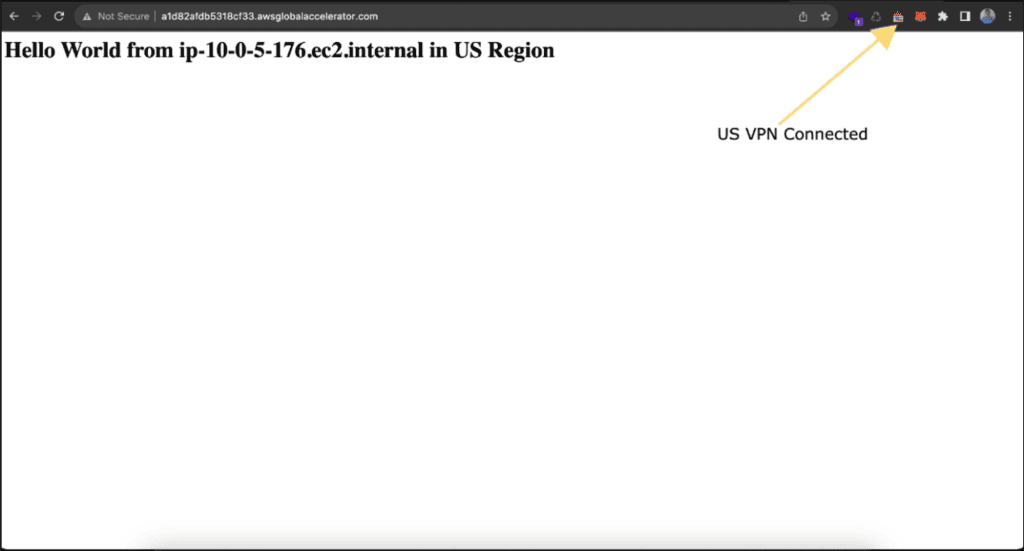
Your AWS Global Accelerator is now set up to distribute traffic directly to your EC2 instances.
Setting Up AWS Global Accelerator for Application Load Balancers
In some cases, you may want to route traffic to the Application Load Balancer (ALB). Here’s how to set up AWS Global Accelerator for these endpoints.
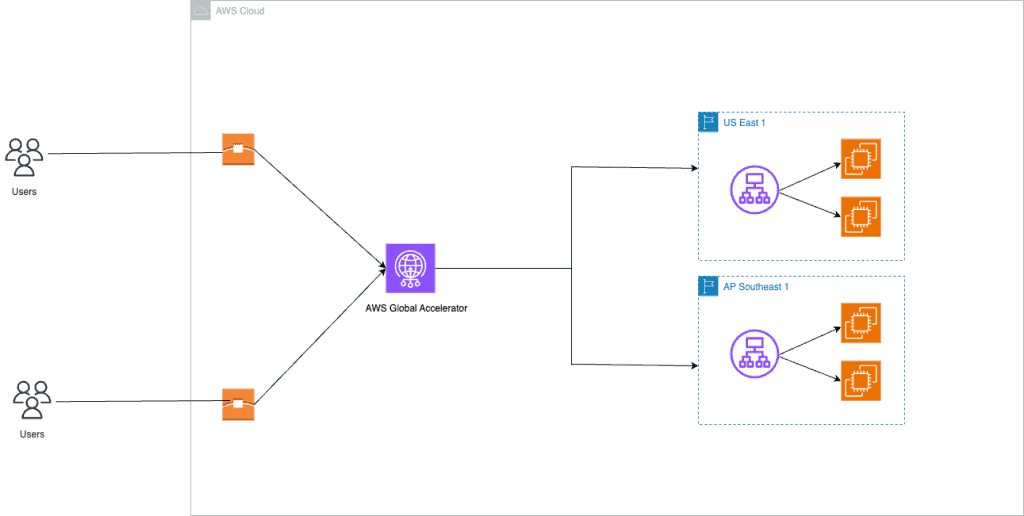
Prerequisites
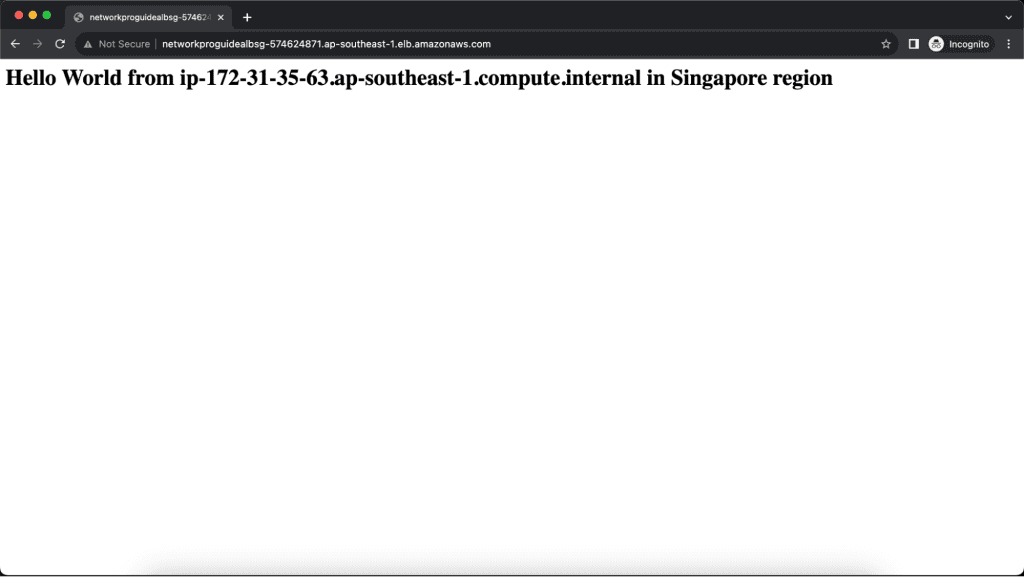
You must have at least two Application Load Balancer and associated target EC2 instances in two different regions. I have two ALBs in two different regions:
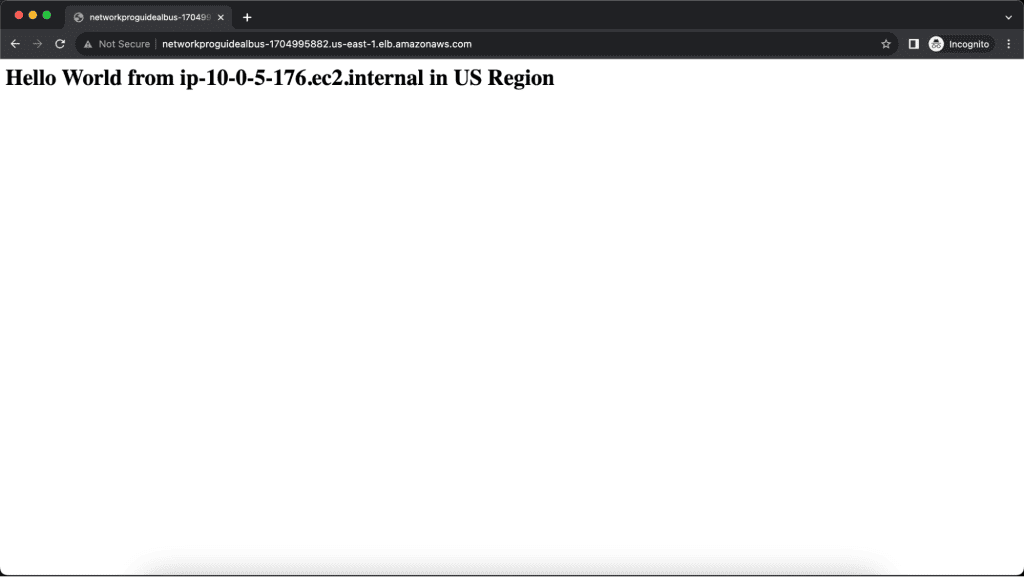
Step 1: Creating a Global Accelerator
Navigate to the AWS Global Accelerator console.

Click on “Create accelerator”.

Choose a name for your accelerator.
Select “Standard” as the Accelerator type.
(If you want a simple, automated solution to direct traffic to the nearest healthy endpoint, go with the “Standard” accelerator. If you need more control to route different types of traffic to specific EC2 instances based on custom criteria, then the “Custom Routing” accelerator is the choice for you.)
Select the IP address type as IPV4.

Click on Next.
Step 2: Adding Listeners on AWS Global Accelerator.
Then we have to set up a listener which is the port.
Add “80” in the port and select “TCP” as the protocol because we will have the HTTP traffic which is built on top of TCP. Also, select Client affinity as “NONE”.
Then click on “Next”.

Step 3: Adding Endpoint groups on AWS Global Accelerator.
In the endpoints group, select the instances that you have created. Select the region in which you have your first instance. In my case, it’s us-east-1.
In the traffic dial choose “100”. Which means 100% of the traffic will go to that region.

In the configure health checks tab. Add health check port as “80”, health check protocol as “HTTP”, health check path as “/”, health check interval as “10” and threshold count as “3”.

Now, click on “Add endpoint group” as we are going to add a second EC2 in another region.

Select the region in which you have your second instance. In my case, it’s ap-southeast-1.
Configure the health check which will be the same as above.
If you have more EC2 in different regions then you can again click on “Add endpoint group” and repeat the same step as above.
Then click on “Next.”

Step 4: Adding ALB as endpoints on AWS Global Accelerator.
Now we will have two endpoint groups. In the endpoint group 1, click on ”Add endpoint.”

Select the endpoint type as “Application Load Balancer.”
Select your first ALB in Endpoint.

Now in the endpoint group 2, click on ”Add endpoint.”
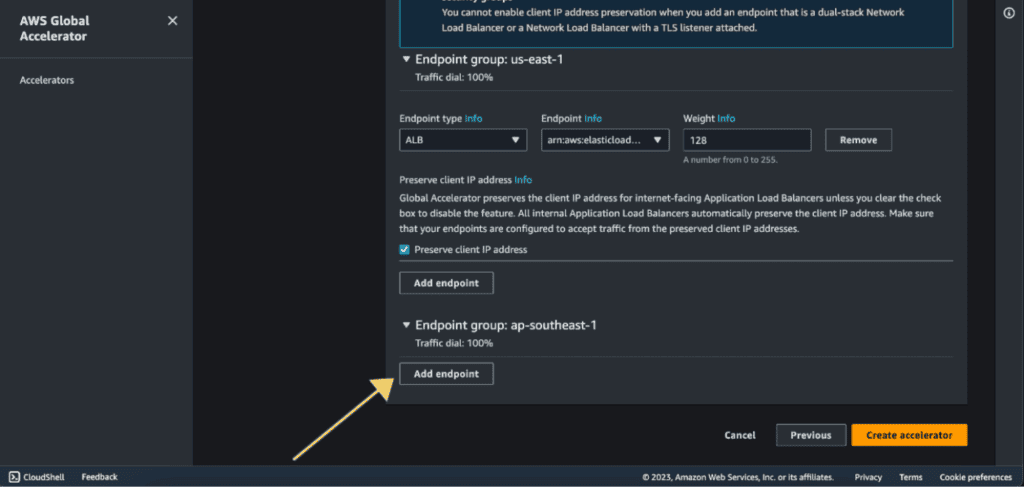
Select the endpoint type as “Application Load Balancer.”
Select your second ALB in Endpoint.
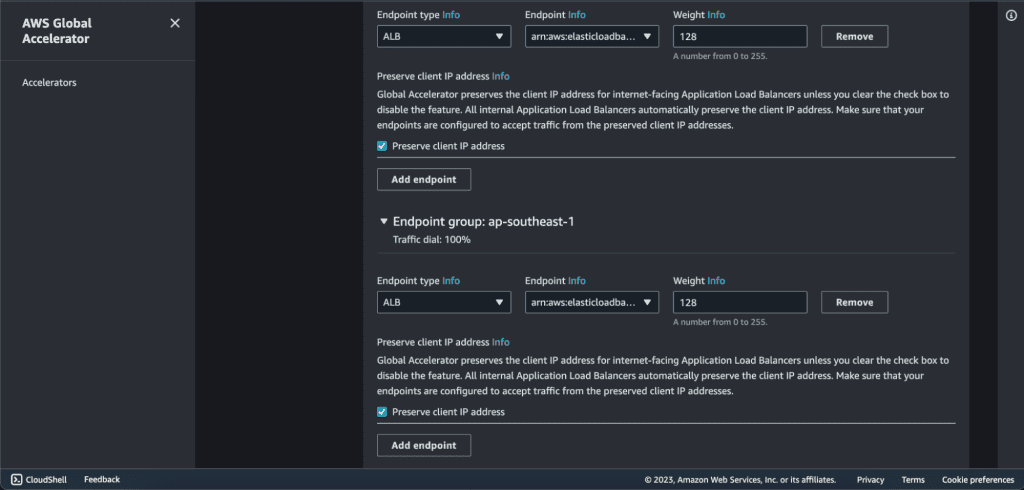
If you have more endpoints then you can add them as well.
Click on “Create Accelerator.”
Your accelerator will be created successfully.
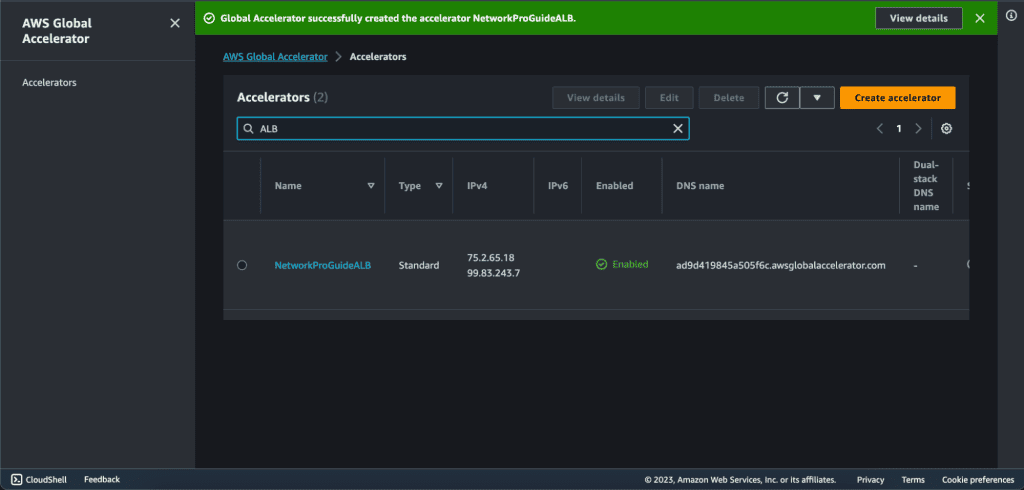
Now you can see two static IP addresses, these two are going to be global anycast IP addresses to access the application.
You also have the associated DNS name with this global accelerator. You can use both of them to access the global accelerator.
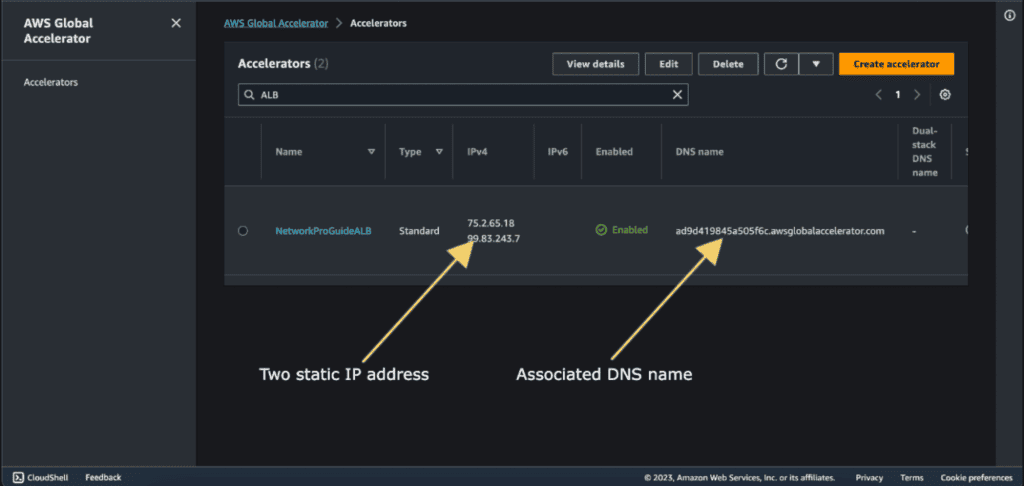
Wait for the status to be “Deployed”. It can take a few minutes.
Now you can copy the DNS name and check it.
Step 5: Access the ALB from Global Accelerator.
I am testing it from Asia, which is near the Singapore region and I am redirected to the Singapore region.

Let’s also check it from the country that is near the US.
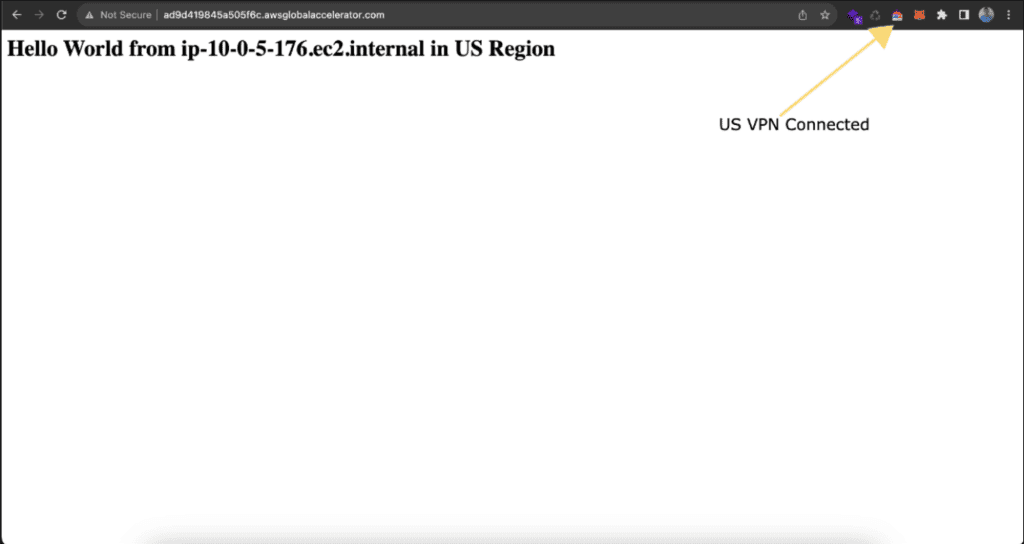
Your AWS Global Accelerator is now set up to distribute traffic directly to your ALB.


